What this guide helps you do
Design a two-sided business card for your store, fill in the contact details printed on it, and download a print-shop PDF, PNG images or a home-printing sheet of 10 cards.
Before you start
Use your own store, or team or support-partner access that can view the store's design and exports. Every package can use the builder. The card carries the store's QR code, so the store needs its public web address before you can download. Check the public contact details in your storefront's Contact and visit information first (Visual Editor), because the card starts from them.
Where to find it
Experiences → your store → Builder → Business card. Builder is the link under the quick QR code on the store overview, and it is also in the store's three-dot row menu on the Experiences list. On a phone start from Experiences and the store overview, then scroll the builder: the preview comes right after the design gallery, followed by the design's own settings (printed wording, Colors, Logo and Background where offered), then Contact details and the download buttons.
Step by step
-
Open Builder for the correct store and choose Business card.
-
Under Choose a design, pick one of the 30 designs. Use the style chips (All, Minimal, Bold, Elegant, Restaurant, Photo, Classic, Local) to narrow the gallery. Each design is a different layout, not just a different color.
-
In Contact details, review each field: Your name, Job title, Phone, WhatsApp, Email, Website, Address, Instagram and Tagline. Phone, Email, Address, Website and Instagram start from the store's public contact details; the other fields start empty. Edit any value for this card.
-
Use the show/hide switch beside a field to keep it off the card. A hidden or empty field leaves no gap; the remaining rows move up.
-
Adjust any printed wording (for example the call to action on the back), Colors, the Logo slot and a Background image where the design offers them. Printed wording starts in the language you use Krobr in. An uploaded logo needs a 1:1 crop and Use crop. Uploads stay in this browser session and are not saved.
-
Check both sides in the preview. Pages shows Front and Back; the QR code sits on whichever side the design places it.
-
Choose how to download:
- Download PDF for a print shop: front page, then back page, each with 3 mm bleed and crop marks.
- Download PNG for screens or messaging: one image per side, without bleed or marks.
- Print sheet (10 per A4) for home or office printers: page 1 holds 10 fronts and page 2 holds 10 backs.
-
For the print sheet, print double-sided and choose flip on the long edge, so each back lines up with its front. Then cut along the marks.
Understand the choices
-
The card shows the store's public contact details, never the private email, phone or WhatsApp on your account. Change a default by editing the field here, or update the storefront's Contact and visit information in the Visual Editor for future cards.
-
Edits are for this card only and are never saved. Reloading the page or leaving the builder resets your fields, colors and uploads, so download before you leave.
-
The card size is 89 × 51 mm. One portrait design uses 51 × 89 mm and is rotated into the same slots on the print sheet.
-
The PDF holds each page as a 300 DPI high-quality image of the preview, which keeps the file small, so its text cannot be selected or edited later. PNG downloads are lossless.
Check the result
The downloaded card shows the right name and contact rows, both sides match the preview, and the QR code opens your public storefront when scanned with a phone camera.
If something goes wrong
-
Download buttons are disabled: read the QR code unavailable message; the store needs a valid public web address first.
-
A field is missing on the card: check its show/hide switch and that the value is not empty.
-
Wrong phone or email: edit the field, or correct the storefront's Contact details in the Visual Editor, save, and reopen the builder.
-
Backs are shifted or upside down on the print sheet: print again with long-edge flipping and the printer's actual-size (100%) setting.
-
Export failed: try again once, or use a different browser; do not repeatedly press Download.
Screenshots
These screenshots use demonstration data. Your names, amounts and available controls may differ. Current values on your own screen take priority.
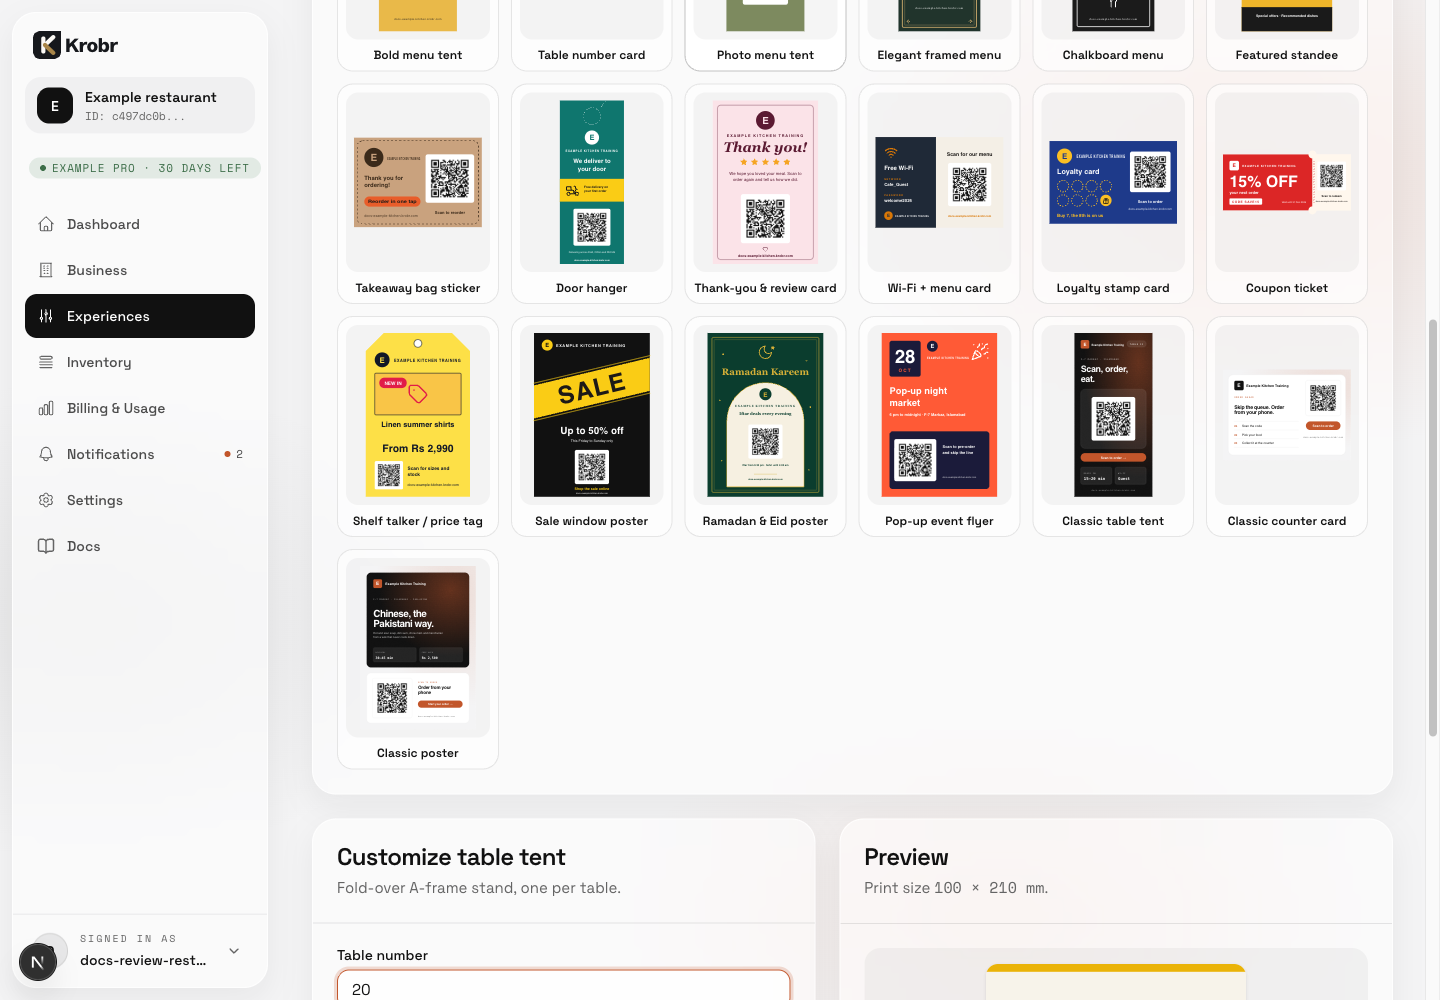
Example builder screen with a design gallery, customization panel and preview; the business card builder uses the same layout and adds Contact details.